Tools:
Small serrated bread knife to cut foam.
Hair dyer or small heat gun to soften vinyl.
Rubber mat to keep seat from sliding all over table.
Two bags of common spring close clothes pins.
Contact cement to glue cover flap to seat pan.
A sunny day, a desk lamp with a 150 to 300 watt bulb or some other way to warm the vinyl.
(This is not a job for an unheated garage workshop in Bimiji, Minnesota in February)
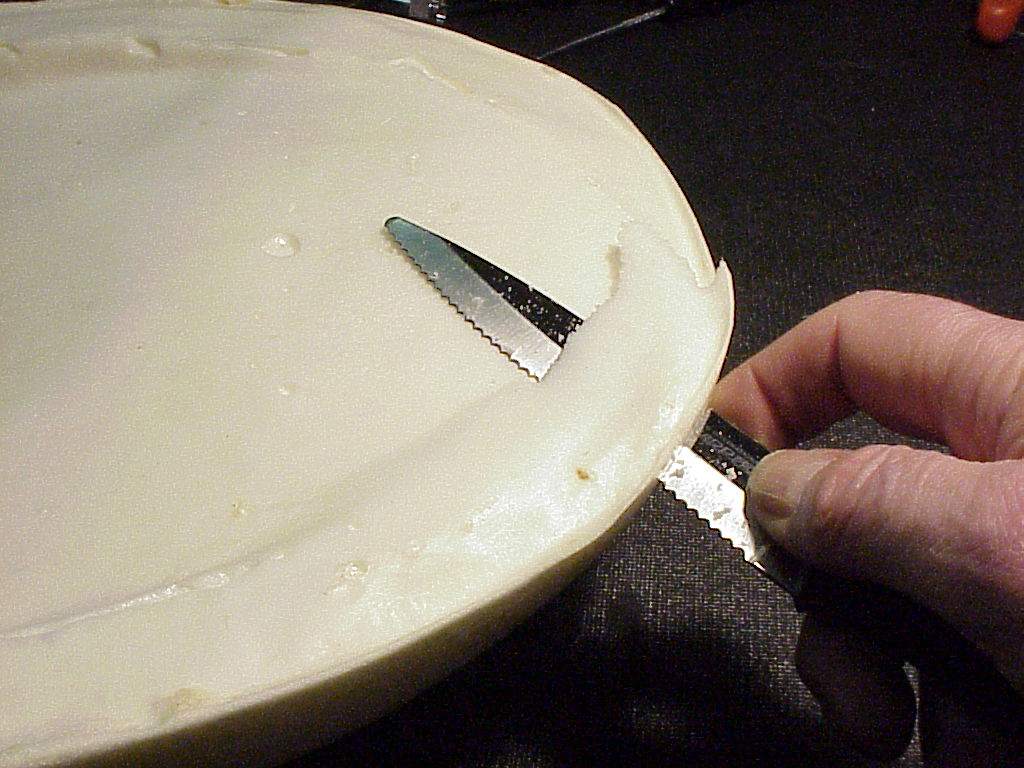
A serrated bread knife slices the foam easily. The back section of the after market seat foams are not level. Here I am
cutting about 3 inches of the foam away to level it.

You will have to remove the flash from around the edge of the foam before offering it to the cover.
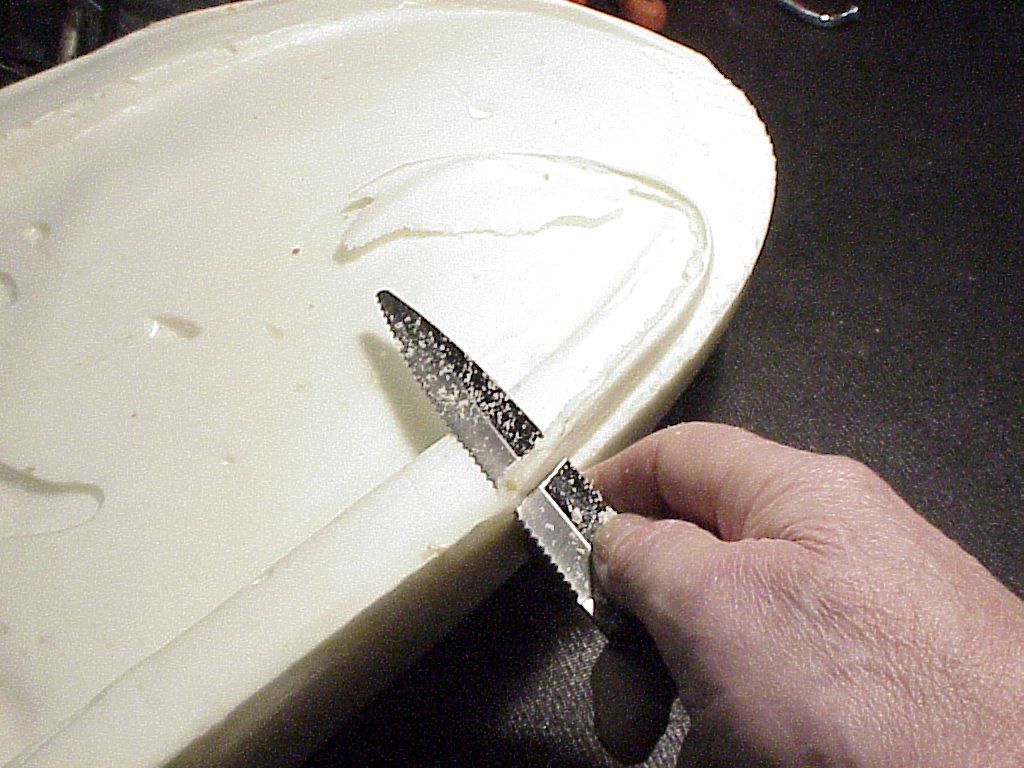
Removing the flash from the side edge of the foam. Use a sawing action with the knife. Try to keep the knife blade level with the
bottom of the foam. The edge will be a bit ragged and it is nice to grind it smooth.
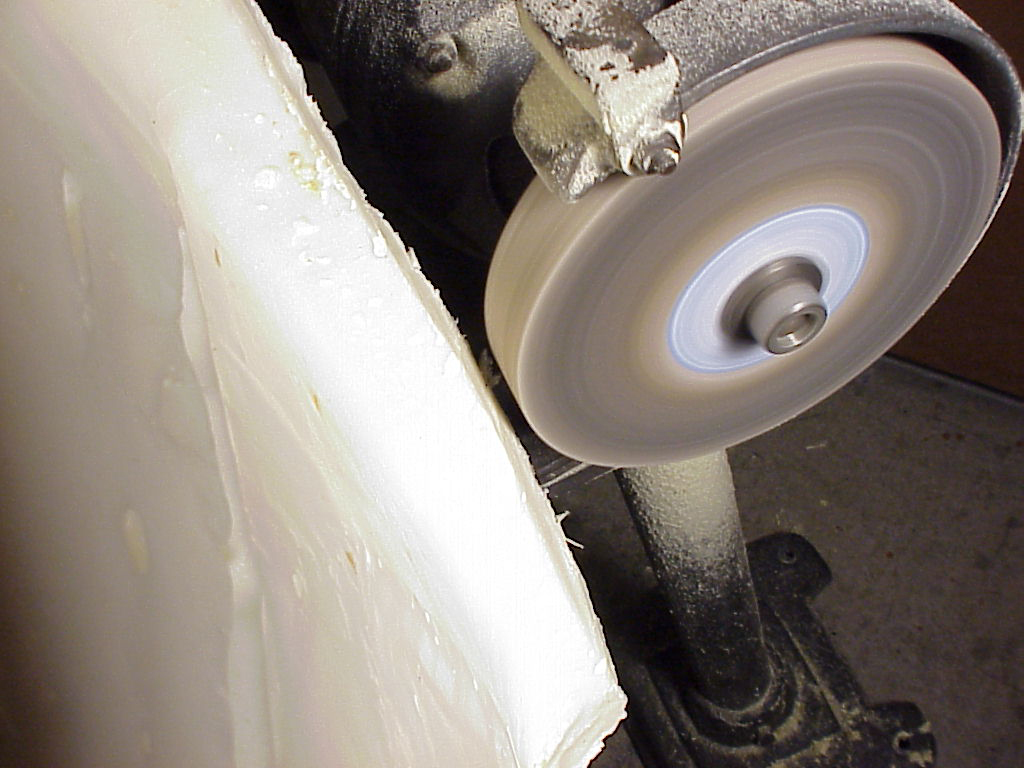
I use a rubberized grinding wheel to clean-up the edges cut with the knife. A stone grinding wheel will also work.
The wheel can be quite aggressive so
go slow and easy.
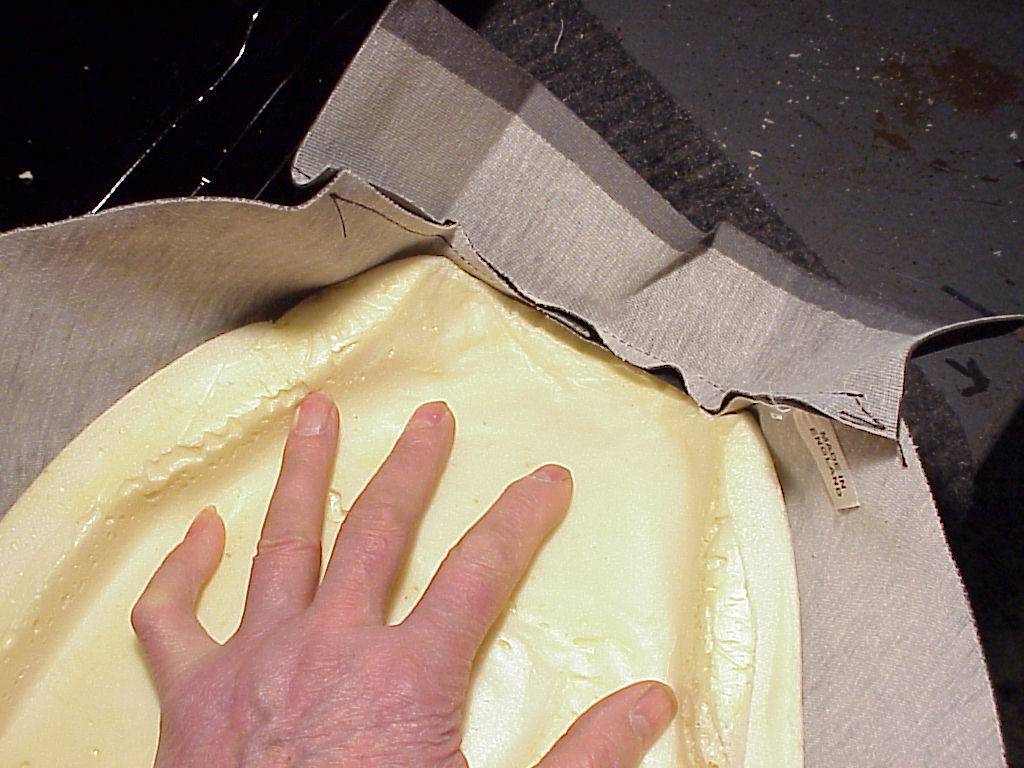
Pushing the foam into place making sure that it is centered on the cover.
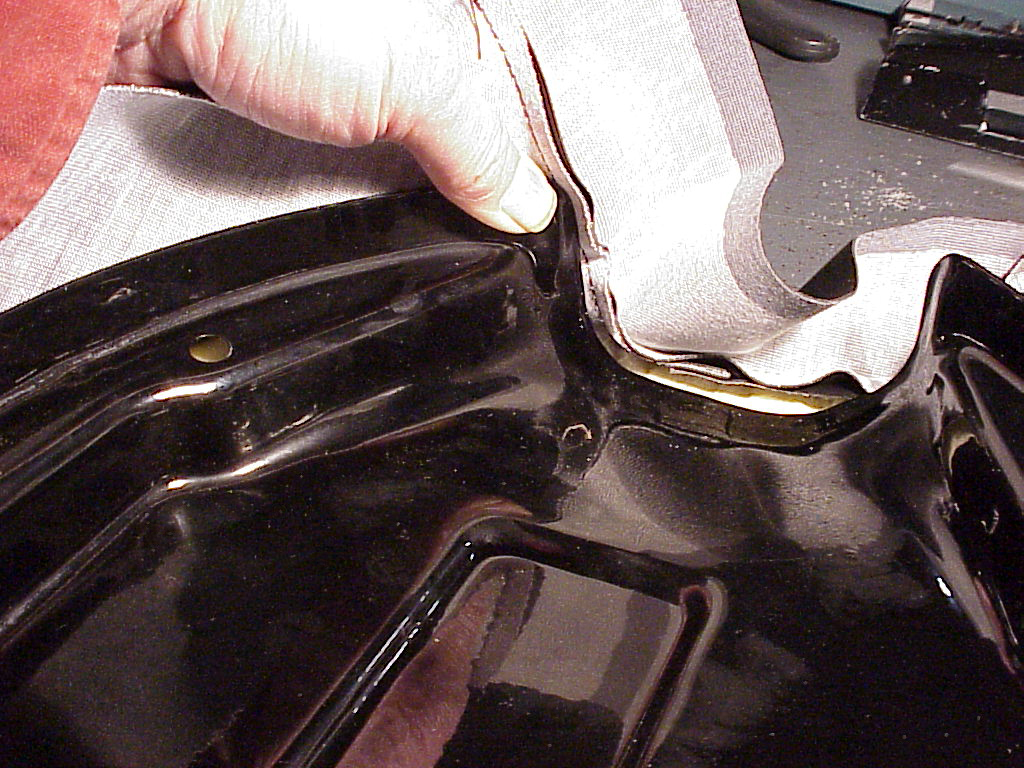
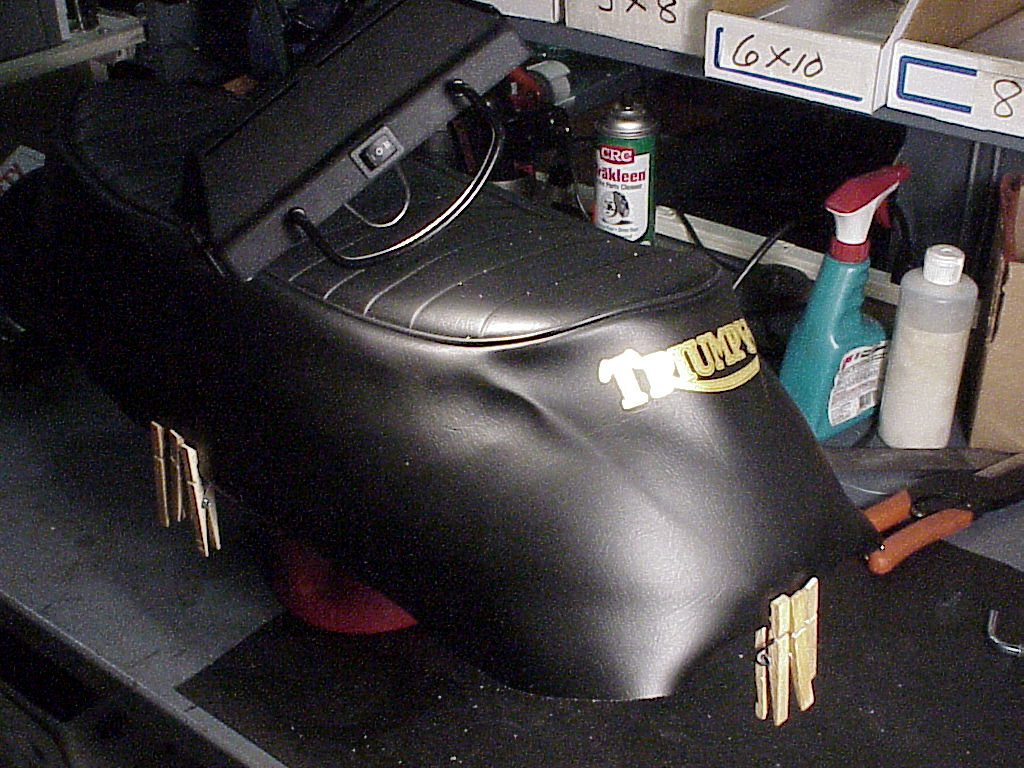
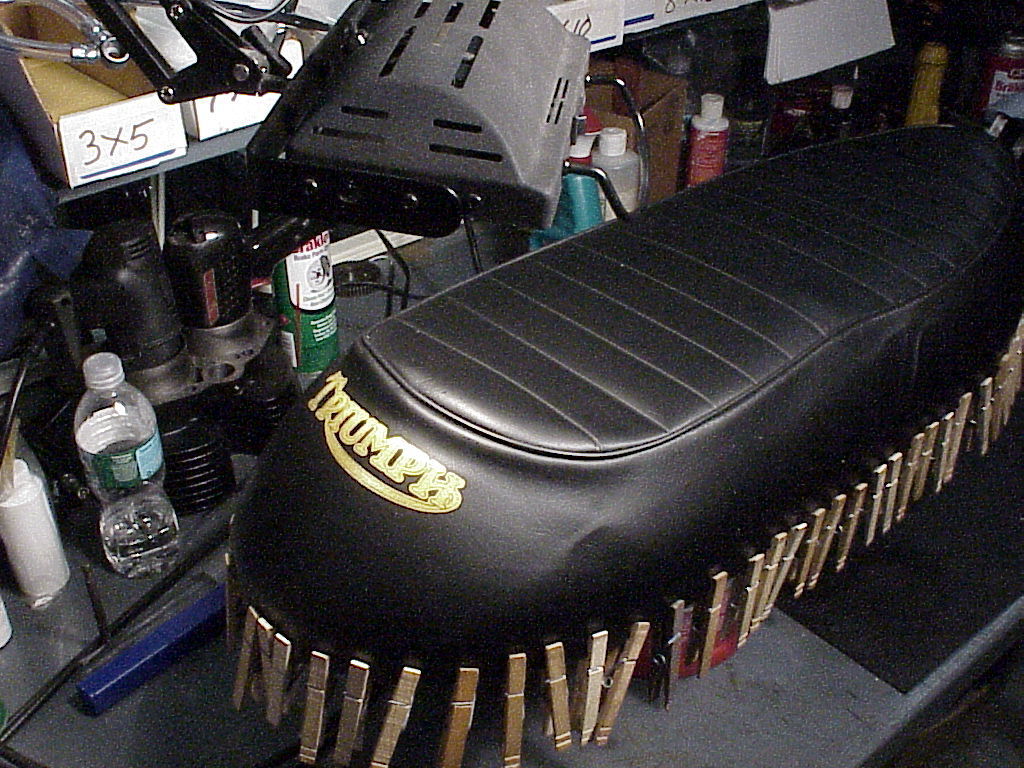
When you offer the pan you want the sewn section at the front flap to end up inside the pan's sides. Once you get it
located correctly place three clothes pins on each side to hold the cover in place.
Once you get the clothes pins in place you can turn the seat over and check the alignment of the cover on the foam.
You want the cover top section to lay in perfect alignment with the top of the foam. Now is the time to make adjustments.
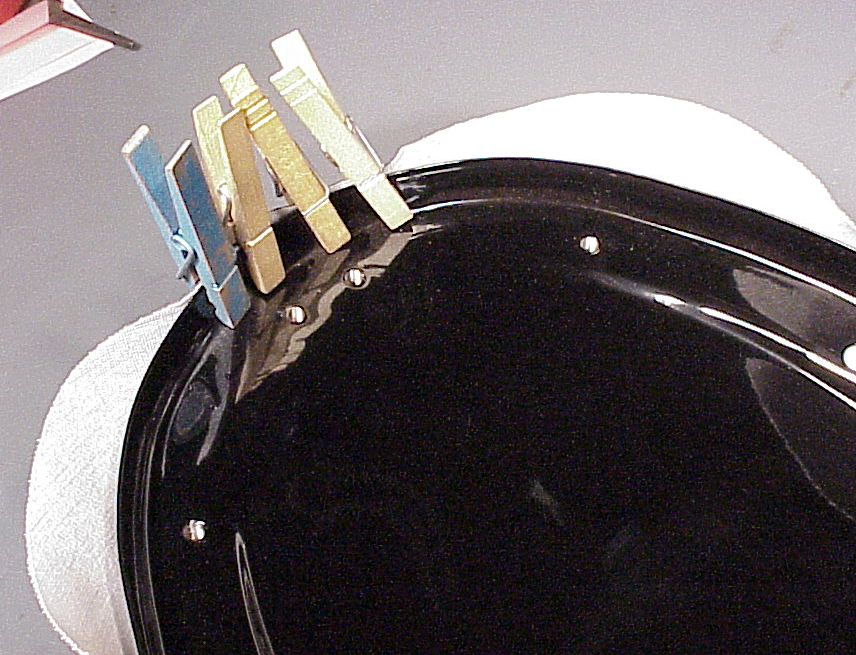
At first the cover will not stretch over the back edge of the pan. This will come later. Pull the cover as tight as you
can and use 4 clothes pins to keep it in place. Turn the seat over at this point and check the alignment of the Triumph
logo. The "U" should be in the center as you look from the back. This is also a good time to check the cover placement
on the foam. The sewn edge, and piping should follow the top of the foam.
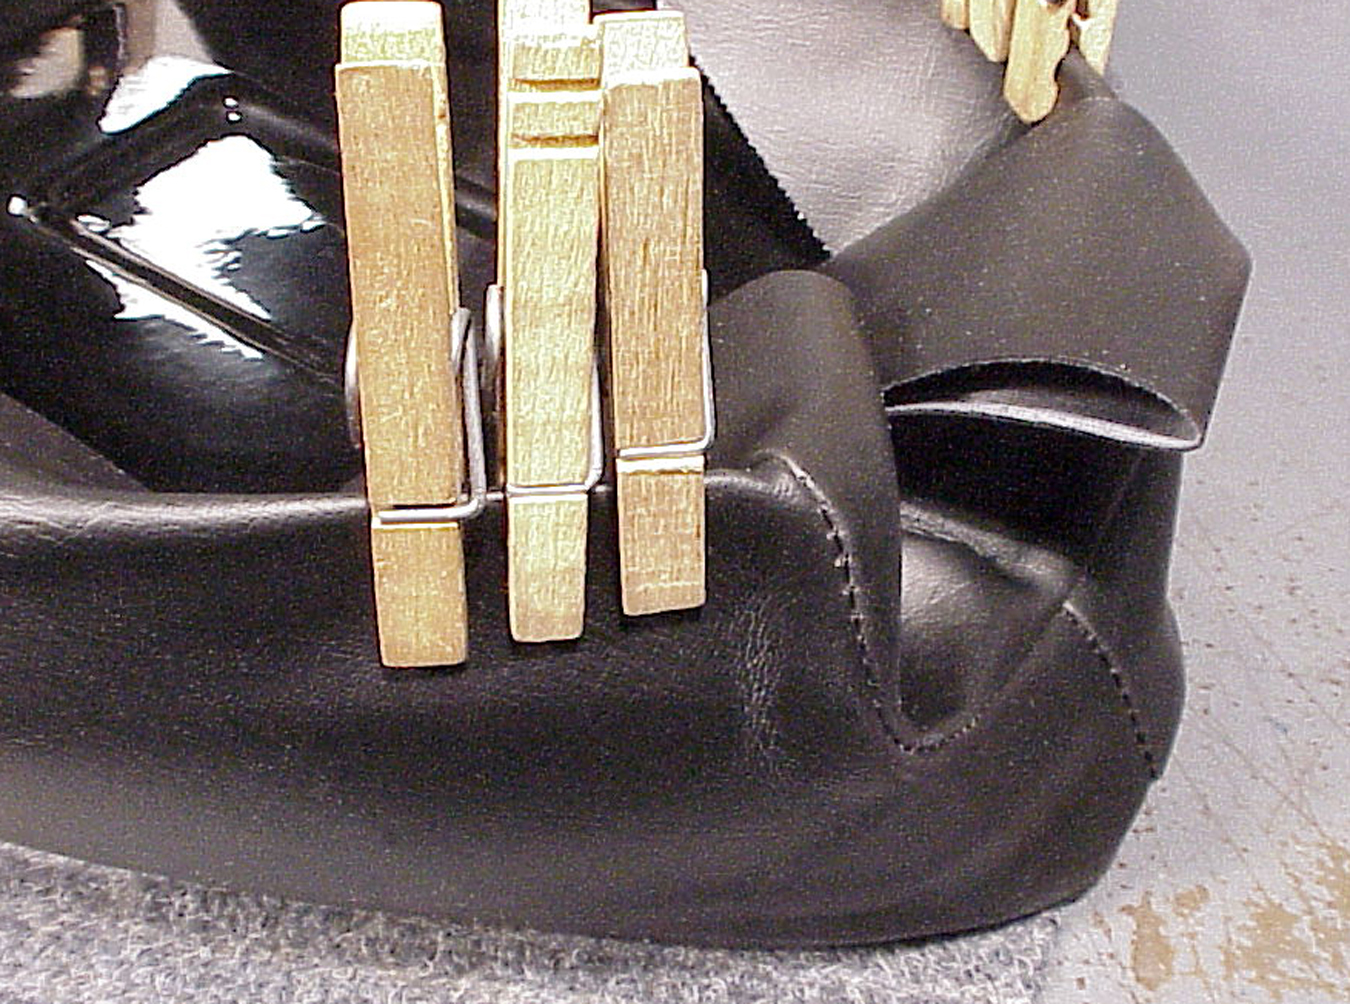
Lay the seat on its side and in turn pull the middle of the cover taught on the foam. When both sides are secure with
three clothes pins turn the seat over and check alignment again.
Placing the seat on an old coffee can (I keep the clothes pins in) I lower the desk lamp with a 300 watt bulb so it is
8 to 10" away from the cover. I let it sit there for 15 minute or so the cover can soften. This will be repeated several
times before the cover has enough tension to hold its shape. Notice the cover is placed squarely on the top of the foam
and he "U" in the Triumph logo is in the center of the seat.

WIth the cover's vinyl softened Pull the back of the cover over the pan's edge. You won't get of the cover much over
the edge. Secure it with 4 or 5 clothes pins. Then
pull move to the side just in front of the point where the foam forms
the rear "hump." Alternatively pull the cover taught on each side and secure it with 3 or 4 clothes pins.
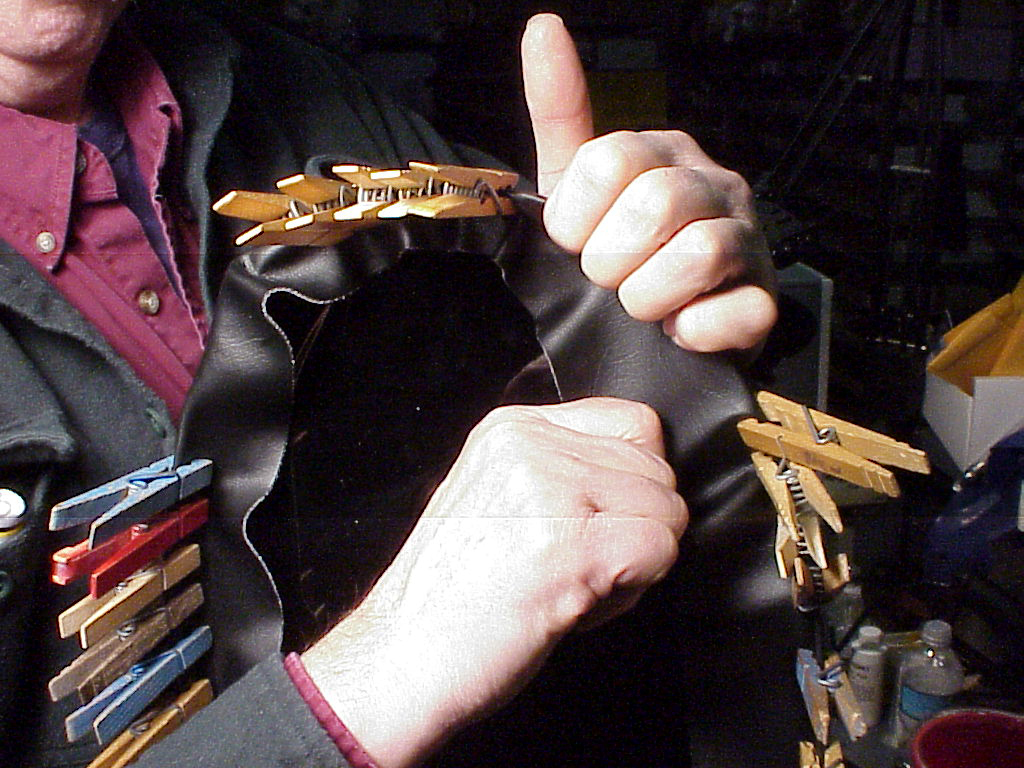
With the 4 or so clothes holding the side you can remove the 4 clothes pins from the back and with as much pull as
Use the palm of your hand to push on the cover while you secure it with your fingers. Lift a finger to place a pin in
place as you go around. repeat this on the other side.
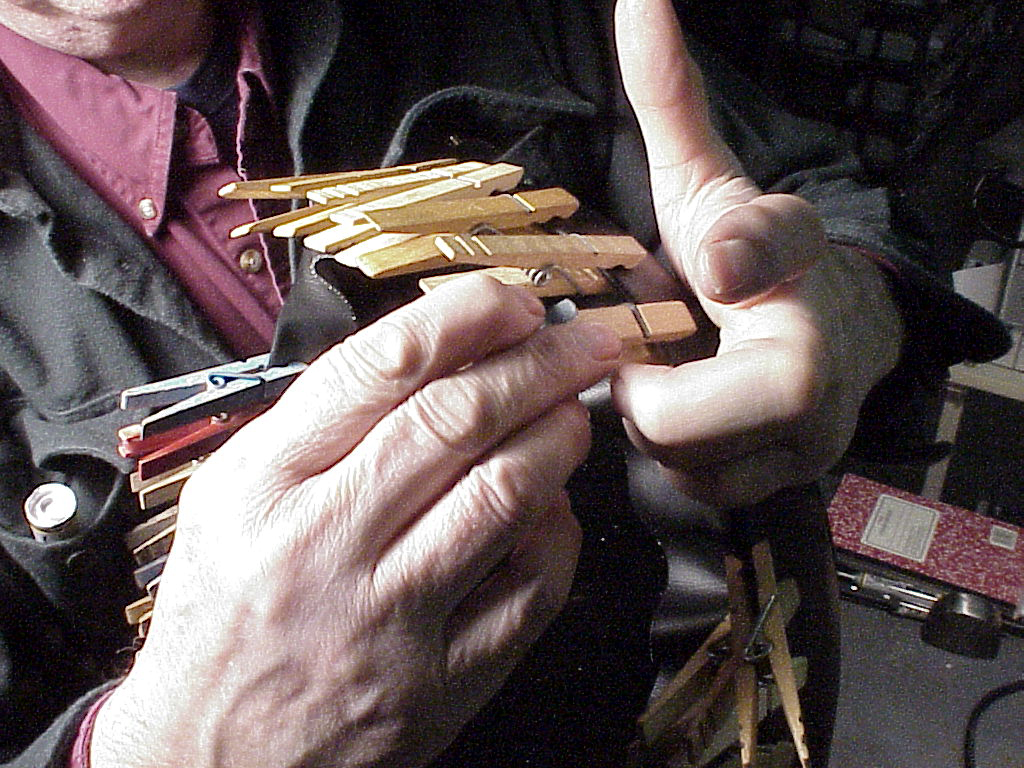
Working the other side of the cover into place.
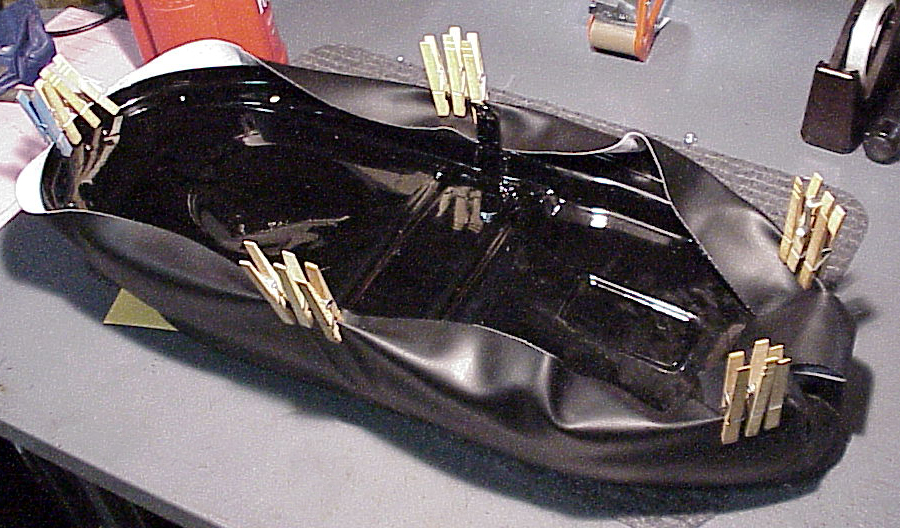
Time to flip the seat and check progress. The foam is centered on the pan; the cover is centered on the foam and
the logo is level and centered. That said, the back of the cover isn't tight enough yet. You can see the cover bulge
behind the piping. Another round of warming and pulling are needed.
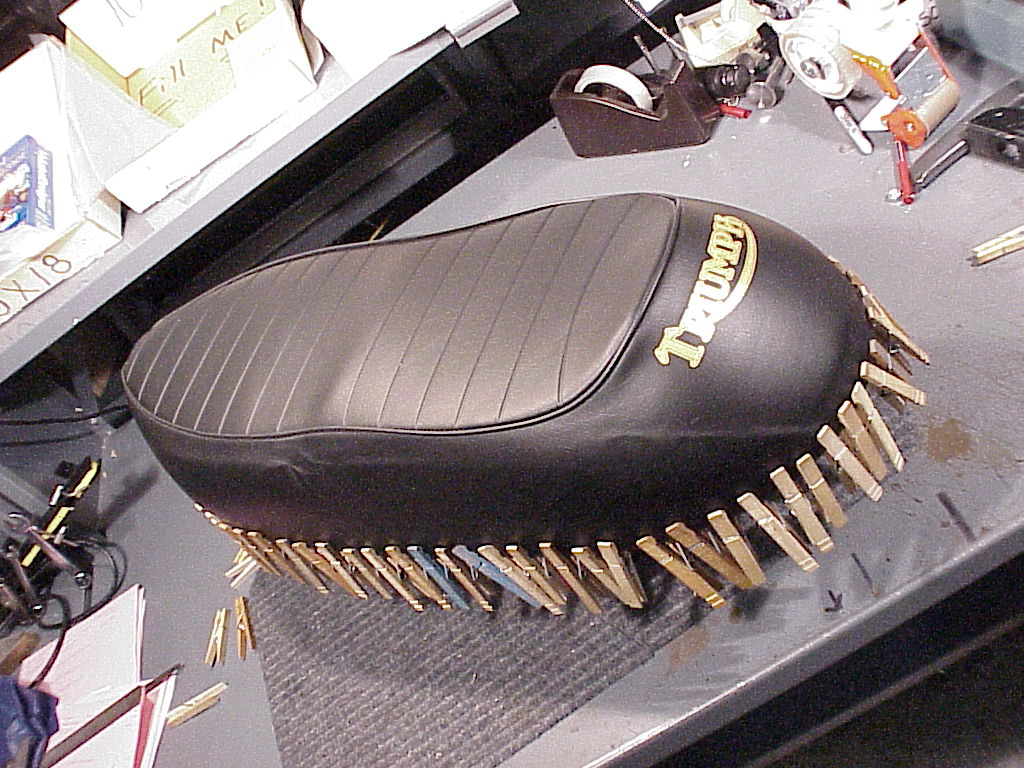
The finished cover ready to receive the chrome plastic trim. By pulling the cover tighter on the side just in front of the
two "hump" they were not pulled flat. You will also not that there are some blemishes in the material from being
folded.
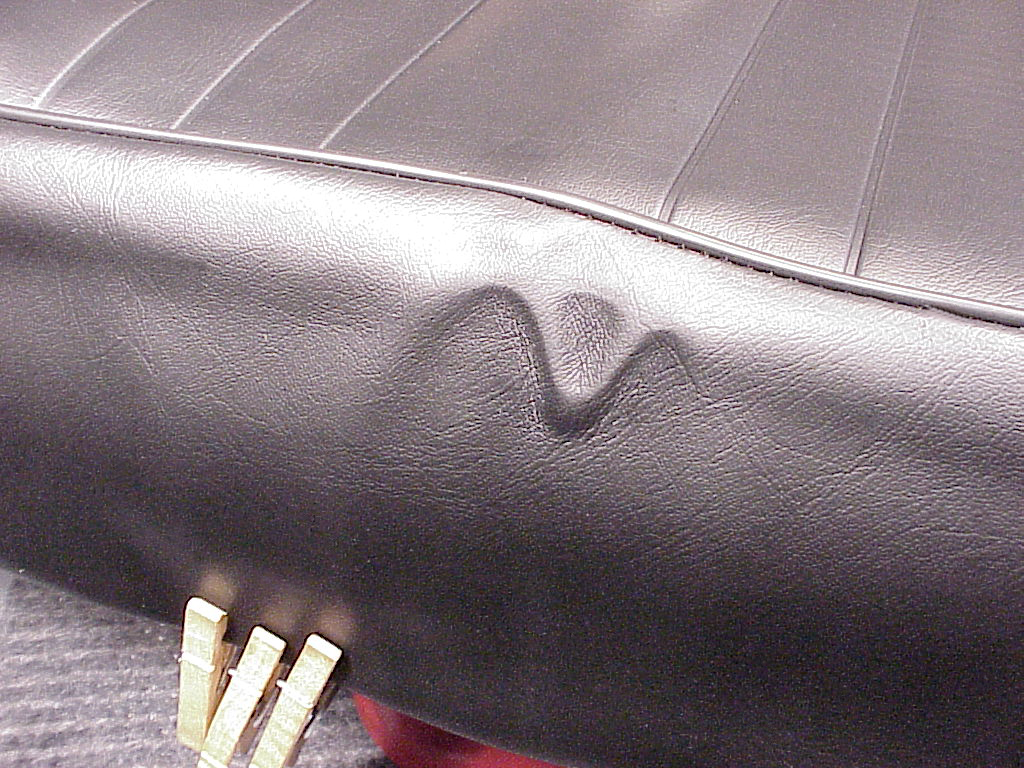
This is the worst of the flinging blemishes and will be removed by careful heating. This material has a memory
and when warmed will return to its original texture. If you are in a sunny area all that is needed is to place the cover
in the sun.
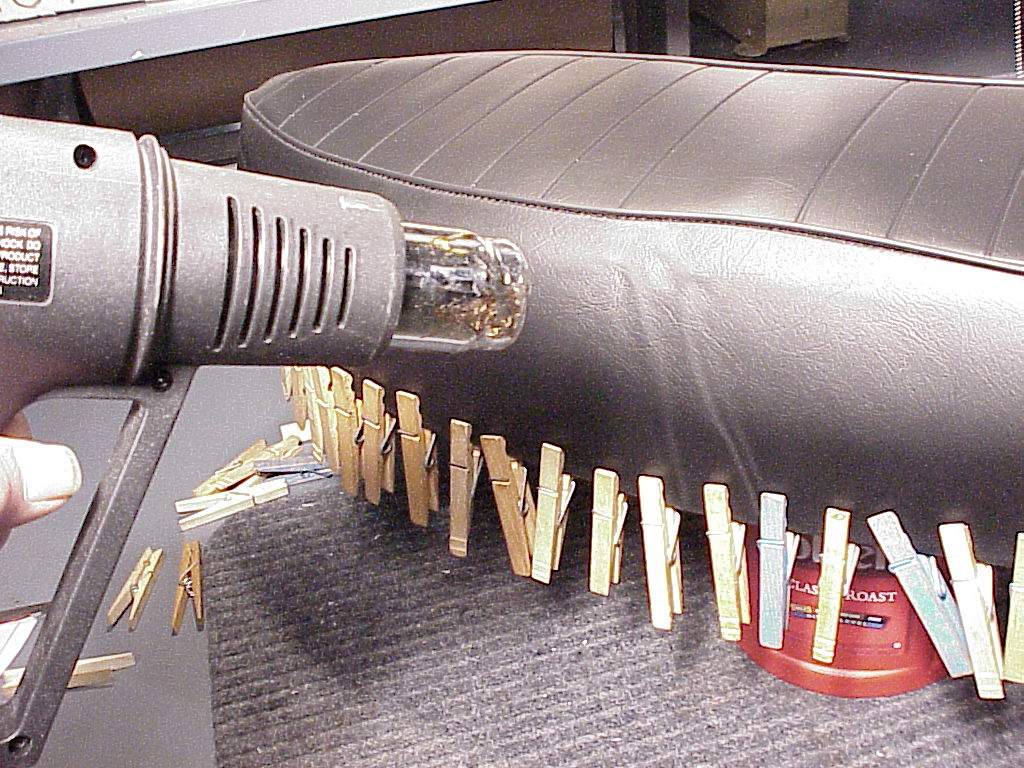
If its Winter in Bemiji you will need to warm the blemish with a hair dryer. It isn't as much as how much heat you
apply, but for how long. That is why the sun works so well. Go slow, moving the heat source around not leaving it
in one area for more than a couple seconds. No need to go for perfect as the first time the cover gets into the sun all
of the blemishes will disappear. A word of caution: Vinyl melts very easily at a very low temperature. We are
warming the material, not heating it. There is always several blemishes on theses covers. This cover had six.
It's unavoidable.
I work a blemished area for several seconds and then move to one of the other blemishes.
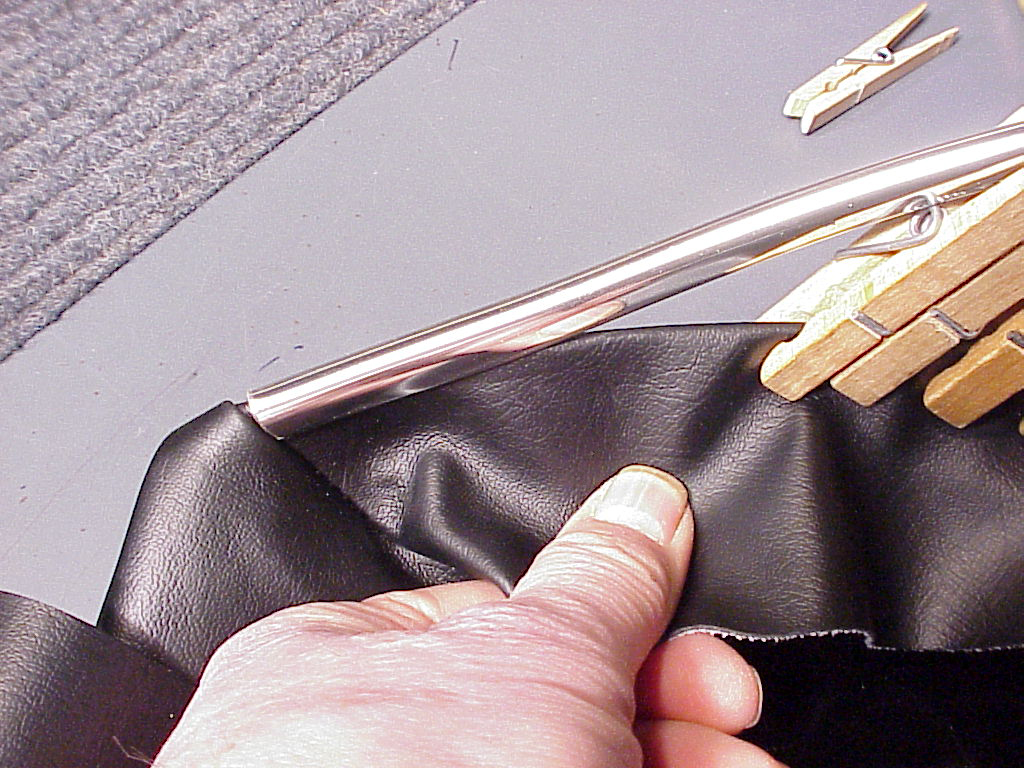
The vinyl chrome seat trim also needs to be warm. Again the sun is the best source of heat. If there is no sun the hair
drier can be used. Remember warm. Taking off the first several clothes
pins from the front, pull the cover while
holding the open end of the trim over the edge. To prevent the sharp edge
of the trim from cutting the cover as it is
offered file the sharp corner round with a smooth file. Then holding the
trim at a 45° degree angle with your thumb
push the tim over the cover. Now starts a little dance of pushing the trim
down over the edge with your thumb just
above the point where the cover is entering the trim, guiding it with the trim resting in your curled fingers keeping
it a slight upward angle and removing a couple of clothes pins as you go.
You want only about an 1" or 1 1/2"
between the point where the trim is just starting to cover the cover and the
next clothes pin. If using a hari drier to
warm the trim you will have to heat 6" or 8" as you go around the seat.
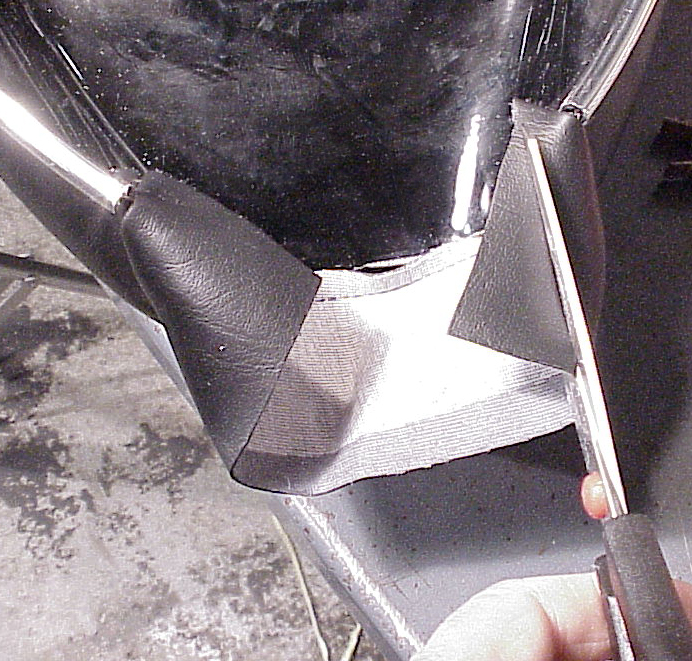
Once the seat trim is in place, trim the excess material under the seat leaving 3/8" to 1/2" all around. I like to
bevel the corners of the flap, though they can be folded over and held with contact cement. The contact cement
will work when used on the outside of the cover material so the sides of the flap can be folded over, held by
contact cement, and the outer surface of the cover glued to the pan.
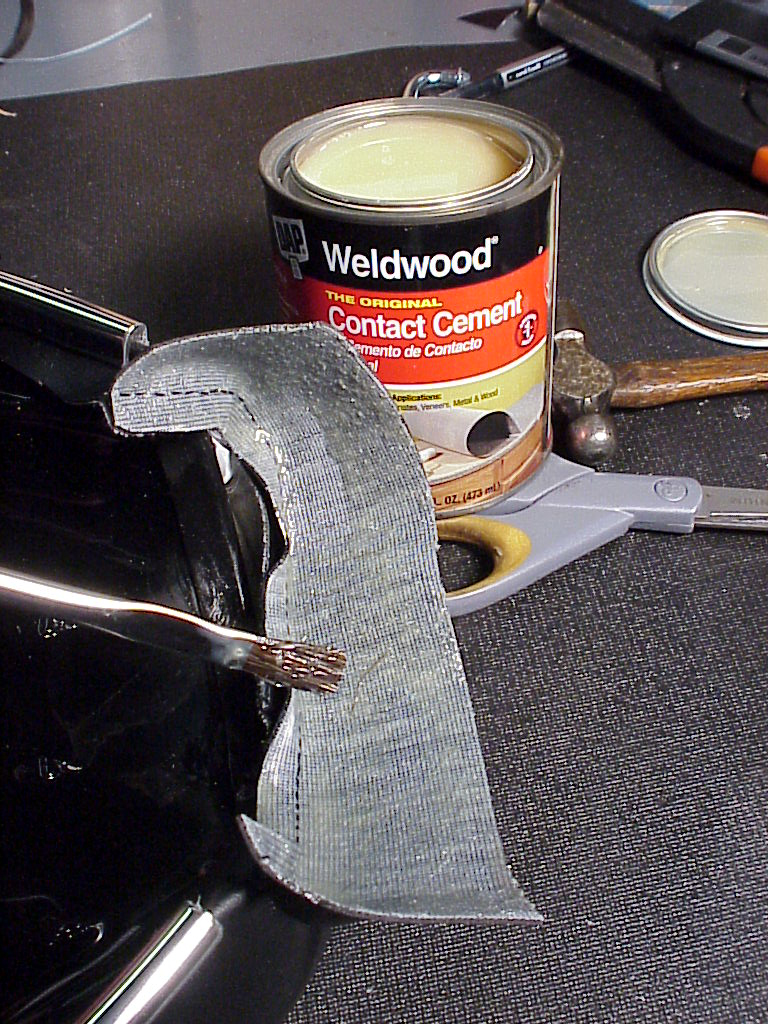
Coat the inside of the flap and the front area of the pan where the flap with be glued. Vigorously work the contact
cement into the material and put a thin coat on the pan itself. Wait for the cement to dry to the touch (so it is not wet
15 to 30 minutes). Fold the sides of the flap over on itself if required to narrow the flap and push the flap over the
end of the and rub it
down hard, so the contact cement holds the flap in place.
A bit of warning about contact cement; READ THE INSTRUCTIONS and use it in a well ventilated space.
Copyright John Healy 2010
Pictures are the property of John Healy